1011 & 1012 Spraymaid
-
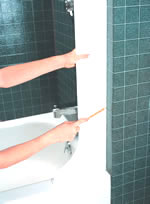
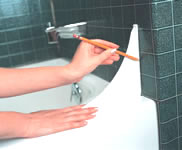
Step A
Clean mounting area thoroughly. Outline guard on wall and inside flat surface of tub with pencil.
-

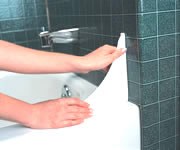
Step B
Remove bottom section from guard and expose adhesive. Carefully place against wall and top of tub inside pencil outline.
-
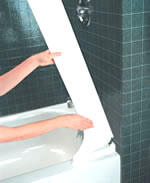
Step C
Expose adhesive on top section. Holding away from wall, place front edge into bottom section. Press down into bottom section while pushing back to pencil outline on wall.
-
Caulking Around Guards is Recommended
To install in radius corner; saw off square corner of guard, install as above & caulk.
700 & 701 Mini-Spraymaid
-
Step A
Clean and dry thoroughly the area where mini-Spraymaid is to be applied.
-
Step B
Before exposing adhesive backing, place guard in desired position and mark with pencil. Check surface for excess caulking or interference.
-
Step C
Remove paper liner from adhesive. Place in position on penciled marks carefully making contact with wall and top of tub at same time.
-
Step D
Due to irregularities in some tub and wall installations, caulking may be desired.
-
Caulking Around Guards is Recommended
To install in radius corner; saw off square corner of guard, install as above & caulk.